Here is Card #9: Milk Card in my "Just Because" Cards Cartridge Series!

Showing posts with label Get Well Cards. Show all posts
Showing posts with label Get Well Cards. Show all posts
Sunday, September 21, 2014


Monday, August 19, 2013
Paper Playtime Challenge #17:Use Pearls
Ch#17 Use Pearls
Begins: Mon, Aug 19
Ends: Sun, Sept 1
(must have a USA address)
For my creation, I used Teddy Bear Parade to make a Get Well Soon Card.

Materials Used
*A2 Card
*Teddy Bear Parade Cartridge (Doctor @ 3")
*Cardstock by Recollections
*Patterned paper (Scraps)
*EK Success Scallop border punch
*Pearls by Craft Smart
*Hero Arts Sentiment
*Tuxedo Black ink by Memento
For my creation, I used Teddy Bear Parade to make a Get Well Soon Card.

Materials Used
*A2 Card
*Teddy Bear Parade Cartridge (Doctor @ 3")
*Cardstock by Recollections
*Patterned paper (Scraps)
*EK Success Scallop border punch
*Pearls by Craft Smart
*Hero Arts Sentiment
*Tuxedo Black ink by Memento
Friday, June 14, 2013
Cut it Up #21: Red, White & Blue
Happy Friday. I am so glad the weekend is upon us. Today we have a great challenge at Cut It Up Challenges. Our theme this week goes with Flag Day which we celebrate today! For this weeks challenge, we challenge you to make something red, white and blue and remember to use a Die cut somewhere on your project.
This challenge is sponsored by Trendy Twine. The design team were given 3 Trendy Twine samples to work with. I chose to work with Trendy Twine colors In The Navy and Cranberry.
I also used my new Teddy Bear Parade cartridge to make this cute little card and I put her on an Action Wobble!


 Materials Used:
*A2 Card
*Cardstock by Recollections
*Patterned paper from stash
*Teddy Bear Parade Cricut Catridge
*Action Wobble
*Trendy Twine Baker's Twine in Cranberry and In The Navy
*EK Success Scallop border punch
*Glossy Accents for bear's nose and eyes
Challenges Entered:
Action Wobbles: #57 Anything Goes
Craftin' Desert Diva's: Red, White & Blue
This challenge is sponsored by Trendy Twine. The design team were given 3 Trendy Twine samples to work with. I chose to work with Trendy Twine colors In The Navy and Cranberry.
I also used my new Teddy Bear Parade cartridge to make this cute little card and I put her on an Action Wobble!


*A2 Card
*Cardstock by Recollections
*Patterned paper from stash
*Teddy Bear Parade Cricut Catridge
*Action Wobble
*Trendy Twine Baker's Twine in Cranberry and In The Navy
*EK Success Scallop border punch
*Glossy Accents for bear's nose and eyes
Challenges Entered:
Action Wobbles: #57 Anything Goes
Craftin' Desert Diva's: Red, White & Blue
Wednesday, May 22, 2013
Wild Card 2 Video Series #2: Whale Card
Here is the Wild Card 2 Video tutorial for card #2: Whale Card found on p. 23. I cut this using 8 1/2" x 11" sheet of cardstock at 5 1/2". The phrase and Phrase layer were cut at 1 3/4".
There is a little trick to this card in all of the whale layers and how it is assembled.
Thanks for watching.
Anita
There is a little trick to this card in all of the whale layers and how it is assembled.
Thanks for watching.
Anita
Monday, May 20, 2013
Wild Card 2 Video Series #1: Rainbow Card
Hi blogging friends. I have decided after finishing Wild Card, that I wanted to do another Cartridge Series. I have decided to do the Wild Card 2 Cricut Cartridge as a Video Tutorial. I have made a select few cards from this cartridge but am still learning as I go as this cartridge is different than the original Wild Card. So I will be learning along beside all of you.
So here is the first Video in this Series. I am starting at the beginning with Card #1, the Rainbow card.
So here is the first Video in this Series. I am starting at the beginning with Card #1, the Rainbow card.
Monday, April 8, 2013
Craft Your Passion Challenge #157: SS Hoppity
Today starts a new challenge over at Craft Your Passion Challenges. This week our Theme is
Water, Water, everywhere. You must use an image with water in it.
Our sponsor this week is Robyn's Fetish.
I used a Robyn's Fetish image called SS Hoppity. This site has such cute little images and if you can visit the site here.
 I used the image SS Hoppity and My Craft Spot baker's twine in Cherry Red.

I colored the image with my Prisma Coloring pencils and added some Glossy Accents to the water.
 The inside sentiment is by My Pink Stamper and Hero Arts.
Be sure to visit Craft Your Passion to see some fabulous creations by the Design Team.
Materials Used:
*A2 Card
*Cardstock by Recollections
*Image by Robyn's Fetish called SS Hoppity
*Glossy Accents
*Cherry Red Baker's Twine
*My Pink Stamper and Hero Arts stamp sets
*Memento Tuxedo black ink
*Prisma Coloring pencils
Water, Water, everywhere. You must use an image with water in it.
Our sponsor this week is Robyn's Fetish.
I used a Robyn's Fetish image called SS Hoppity. This site has such cute little images and if you can visit the site here.


Be sure to visit Craft Your Passion to see some fabulous creations by the Design Team.
Materials Used:
*A2 Card
*Cardstock by Recollections
*Image by Robyn's Fetish called SS Hoppity
*Glossy Accents
*Cherry Red Baker's Twine
*My Pink Stamper and Hero Arts stamp sets
*Memento Tuxedo black ink
*Prisma Coloring pencils
Friday, April 5, 2013
Cut It Up Challenges #16: Wet
Today we have a great challenge for you over at Cut It Up. Our challenge this week is called Wet. We challenge you to make a project showing anything that is or can be wet.....and remember, you must include a die cut.
If your project follows the challenge theme and includes a die cut, you have a chance to win this fabulous prize.
For my project, I chose to make a Get Well Soon card using 3 Birds on Parade and Create a Critter.
 I used 3 Birds on Parade for the bird, umbrella and raindrops, and Create a Critter for the puddle.
 I also added Glossy Accents to make it look "wet". Glossy accents were added to all rain, puddle, umbrella, birds boots and beak.
 The inside...
Our challenge starts today, April 5th, and ends April 17th at Noon, EST.
Materials Used:
*A2 card
*Patterned paper by American Crafts "Greet"
*3 Birds on Parade (p. 30)
*Create a Critter (p. 44)
*Glossy Accents
*Recollections Border punch
*Sentiments by Hero Arts
If your project follows the challenge theme and includes a die cut, you have a chance to win this fabulous prize.
For my project, I chose to make a Get Well Soon card using 3 Birds on Parade and Create a Critter.


Our challenge starts today, April 5th, and ends April 17th at Noon, EST.
Materials Used:
*A2 card
*Patterned paper by American Crafts "Greet"
*3 Birds on Parade (p. 30)
*Create a Critter (p. 44)
*Glossy Accents
*Recollections Border punch
*Sentiments by Hero Arts
Thursday, July 26, 2012
Wild Card 2 Series #2: Get Whale Card
Back again with another Wild Card 2 card. For this card, I tried the Fit to Page feature and I found that it was too big for me. The suggested size for this card was 4 1/2" and I found that too small. I am starting to sound like Goldilocks....


 I chose 6" for the card. The envelope has a small "top" liner. Again, the phrase if cut at 6" comes out like a Real Dial size so I cut it again at 2".
Here is the finished product.
Card "Whale" can be found on p. 23 of the manual.
The blue patterned paper is from Colorbok and I got a huge 12 x 12 paper pad at our Dollar store for $2!!! All other papers are from my scrap stash!
I also added Glossy Accents to the water spout! Too cute!


Here is the finished product.
Card "Whale" can be found on p. 23 of the manual.
The blue patterned paper is from Colorbok and I got a huge 12 x 12 paper pad at our Dollar store for $2!!! All other papers are from my scrap stash!
I also added Glossy Accents to the water spout! Too cute!
Tuesday, July 24, 2012
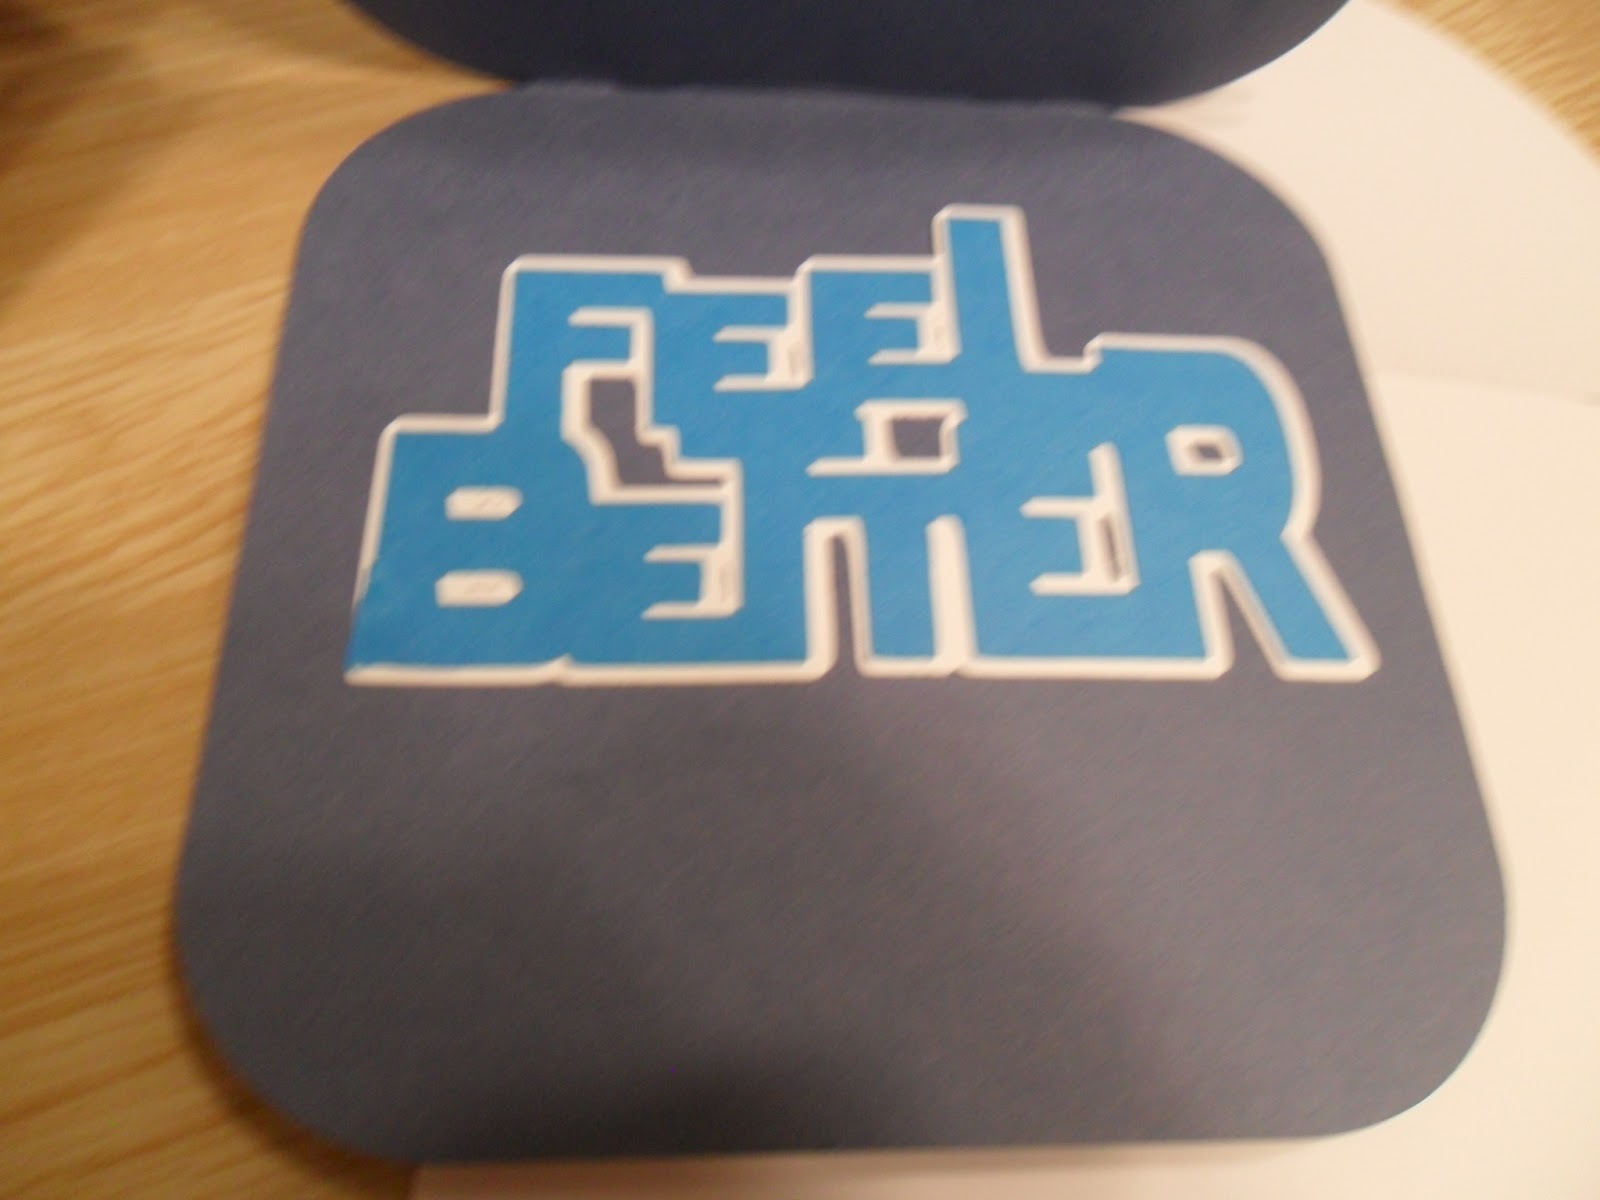
Wild Card 2 Series #1: Feel Better Card
What a close race it was between Birthday Bash & Wild Card 2 but Wild Card 2 won by 1 VOTE!!!
So here is the first card out of 51. For now, I will hopefully post one a night just to give you a start. After that, I hope to post 2-3 cards every post day. Remember, posts for this series will be every Monday, Wednesday & Friday until I finish or until the new baby comes. So just in case I disappear I may have had our new little girl....
In a few days, I will also make a post on the manual for the Wild Card 2 cartridge as it is VERY different from the original Wild Card Cartridge. There are no liners and the phrasing seems to also come out like a Real Dial Size. I have not used this card until tonight as I wanted to learn along with you. So if I do something different or wrong, please let me know.
Ok, enough chatter from me! Here's the card.


 Since this is the first card, I will give you in detail how it was made. The image and cuts can be found on p. 22 of the manual. I wanted to make it as big as possible so I loaded a 12 x 12 sheet and used the fit to page feature at 5 1/4". You will notice in the manual that it does say that a 4.5" or larger would be appropriate for this card due to the cuts. I cut the envelope from white cardstock and used envelope shift from blue for the cloud. Remember, there is no liner for this card. The card base was also cut at 5 1/4" from dark blue Bazzil cardstock, and card shift from light blue. I added Glossy Accents to the raindrops.
The rainbow was cut from pink, rainbow shift from yellow and again from teal blue (notice there are 2 cuts under rainbow shift), Layer 1 from Lime Green and Layer 1 shift from White.
I embossed the cloud using the Cuttlebug Divine Swirls folder. Love the swirled look for clouds.
As mentioned earlier, if you cut the phrase at 5 1/4" it is HUGE so with some playing around I thought that the phrase cut at 2 1/2" was a better fit. I used the Phrase Layer shift from white and then the Phrase from the blue.
So here is the first card out of 51. For now, I will hopefully post one a night just to give you a start. After that, I hope to post 2-3 cards every post day. Remember, posts for this series will be every Monday, Wednesday & Friday until I finish or until the new baby comes. So just in case I disappear I may have had our new little girl....
In a few days, I will also make a post on the manual for the Wild Card 2 cartridge as it is VERY different from the original Wild Card Cartridge. There are no liners and the phrasing seems to also come out like a Real Dial Size. I have not used this card until tonight as I wanted to learn along with you. So if I do something different or wrong, please let me know.
Ok, enough chatter from me! Here's the card.


The rainbow was cut from pink, rainbow shift from yellow and again from teal blue (notice there are 2 cuts under rainbow shift), Layer 1 from Lime Green and Layer 1 shift from White.
I embossed the cloud using the Cuttlebug Divine Swirls folder. Love the swirled look for clouds.
As mentioned earlier, if you cut the phrase at 5 1/4" it is HUGE so with some playing around I thought that the phrase cut at 2 1/2" was a better fit. I used the Phrase Layer shift from white and then the Phrase from the blue.
Sunday, July 8, 2012
Wild Card Series #34: Bandaid Card
Hope you are all comfy with the heat that most of you are getting. It has been a hot summer so far.
Here is the newest card from the Wild Card Series found on p. 65 and was cut at 6 1/4" using the fit to page feature.
The stamped inside sentiment if from my Hero Arts Set "Everyday Sayings"


Here is the newest card from the Wild Card Series found on p. 65 and was cut at 6 1/4" using the fit to page feature.
The stamped inside sentiment if from my Hero Arts Set "Everyday Sayings"


Friday, January 6, 2012
Scraps card #12: Feeling Sick?
Well I can finally move my neck but only slightly. I don't know if it is the way I slept but I have had heat on it for the past 2 days and slowly I am able to move it a bit more. We'll see what tomorrow brings. I had enough energy to make 4 cards today using my scraps and here is what I came up with.
I have had this checkered black and white paper for years and have really hated it but didn't want to toss it out. I thought that as soon as I did that, I would finally find a project that I could use it for. Finally that day came today when I was flipping through my Just Cards cartridge and seen the Feeling Sick? Milk It phrase.
I used the Just Because cricut cartridge. Honestly, I don't use this cartridge enough!!!! I cut the apple card shown on page 46 of the manual at 5 1/2" on Kraft cardstock from Recollections. I cut the border using Apple Shift also at 5 1/2" using black cardstock. I used the milk bottle and phrase on page 32 of the manual. The milk jug I cut first on black cardstock using Layer 1 at 5". I then cut Layer shift on white cardstock also at 5". The phrase was cut at 2 3/4" using red cardstock.
I then used my Create a Critter Cartridge p. 60 for the cow. I cut the Cow, Layer 1, Layer 2, and Layer 3 all at 3". I then chalked around all cuts to give it a little more shading. I then added Glossy Accents to the nose and utters!
The black checkered mat was cut at 3 1/2" x 5". I then cut a black border at 1 1/2" x 5 1/2" and punched it using a laced edge border punch. The red patterned paper was also in my scraps stash and was cut at 1" x 5 1/2" and was added on top of the black mat.
In the inside of the card I added the Milk bottle and used my Plantin Schoolbook Cricut Cartridge and cut out It! at 1".
A cute little card to brighten someone's day who isn't feeling the best but could "milk it!"
I entered this in
The Paper Variety: Black & White with a kiss of color


I have had this checkered black and white paper for years and have really hated it but didn't want to toss it out. I thought that as soon as I did that, I would finally find a project that I could use it for. Finally that day came today when I was flipping through my Just Cards cartridge and seen the Feeling Sick? Milk It phrase.
I used the Just Because cricut cartridge. Honestly, I don't use this cartridge enough!!!! I cut the apple card shown on page 46 of the manual at 5 1/2" on Kraft cardstock from Recollections. I cut the border using Apple Shift also at 5 1/2" using black cardstock. I used the milk bottle and phrase on page 32 of the manual. The milk jug I cut first on black cardstock using Layer 1 at 5". I then cut Layer shift on white cardstock also at 5". The phrase was cut at 2 3/4" using red cardstock.
I then used my Create a Critter Cartridge p. 60 for the cow. I cut the Cow, Layer 1, Layer 2, and Layer 3 all at 3". I then chalked around all cuts to give it a little more shading. I then added Glossy Accents to the nose and utters!
The black checkered mat was cut at 3 1/2" x 5". I then cut a black border at 1 1/2" x 5 1/2" and punched it using a laced edge border punch. The red patterned paper was also in my scraps stash and was cut at 1" x 5 1/2" and was added on top of the black mat.
In the inside of the card I added the Milk bottle and used my Plantin Schoolbook Cricut Cartridge and cut out It! at 1".
A cute little card to brighten someone's day who isn't feeling the best but could "milk it!"
I entered this in
The Paper Variety: Black & White with a kiss of color


Subscribe to:
Posts (Atom)