Saturday, December 31, 2011

Thank You Card

After the busy rush of Christmas and soon to be the relaxing feel of these last few hours of 2011, I wanted to start my Thank You cards that I will be passing out.  I am very blessed to have an amazing family, inlaws and friends. 
The cardstock is from the Recolletions Spice Market cardstock line.  I have had this stamp set for years but rarely use it.  The stamp set is from Stampin' Up and is called Heartfelt Thanks.
The card base measures 5 1/2" x 4 1/4".  The yellow strip measures 1 3/4" x 4 1/4".  The brown measures 1 1/2" x 5 1/2".  The oatmeal coloured mat is 2 x 3 as well as the green mat.  I stamped the sentiment using Martha Stewart's Copper Penny embossing powder. 
All inks are from Stampin' Up.  I used Pumpkin Pie, Summer Sun, Garden Green and Old Olive Stampin' Spots. 
I entered this card in She's a Sassy Lady's:  Create a Thank You Card

Friday, December 30, 2011

Scraps card #5: Sketch challenge

Another hour, another 4 cards made.  Actually this card did not take long to make at all!  I loved the simplicity of the sketch from Christmas Card Challenges #44 and decided to make a card for that challenge but also top off my wedding, love and general cards.  I had a larger piece of scraps left and found enough in my scraps that would coordinate.
The card base is 5 1/2" x 4 1/4" cut the long way from white cardstock.  I used a white base for the sentiment and the same coordinating burgendy cardstock for the mat that was used as the base mat. I interchanged ovals and scalloped edges for the sentiments.
All sentiments are from the Stampin' Up set Occasional Quotes  and is stamped with Studio G chocolate brown ink.


Scraps card #4: Just Batty About Halloween

As my husband just put it...."you're completely insane.  We JUST finished Christmas!!!"
I know I am but I want to get rid of my mound of scraps and when I opened my stamp drawer, this batty stamp was looking straight at me!
So here is my insane moment of 2011...
I made 2 different designs following the same sketch outline.  Dimensions would be the same for both cards, just changed the colors slightly. The card base is 5 1/2" x 4 1/4".  Mat is 5 1/4" x 4".  The black polka dot mat measures 3" x 2" and the orange stripe mat measures 3 1/2" x 2". 
I added a punched border measuring 3 1/2" high.
The stamp is from Craft Smart and I found it at Michael's last October in the Dollar bin.  The thread was embroidery floss I had and I added a button.  The other ribbon is some orange tule that was on a bouquet of flowers I received last October on my anniversary. 
The square measures 2" and I added a larger black square at 2 1/4" for a mat and added dimensionals.
And that is my Halloween scraps used up!!!


Thursday, December 29, 2011

Scraps card #3: There's no business like "Snow" business

Back again for my month long take at using my scraps.  Here is card #3: There's no business like "Snow" business.
For this card I used all scraps, cardstock and patterned paper.  The patterned paper is a winter snow themed with little sayings.  I have had this scrap since my son's first winter in 2009!
I used my Simply Charmed cricut cartridge for the images.  The hat is cut at 3" and the mittens at 2", one normal cut and one using the flip feature.  Both of these can be found on p. 65 of the manual.
The card base is cut from grey cardstock and measures 5 1/2" x 4 1/4".  The second mat is cut from a grey blue at 5 1/4" x 4".  I rounded the corners and also rounded the corners on the white mat cut at 5" x 3 3/4".  I embossed the sentiment using the Recollections Periwinkle embossing powder.  This sentiment is from Inkadinkadoo's Christmas Characters stamp set.  I used my cuttlebug and my Divine Swirls cuttlebug folder because I wanted a swirling snow effect. 
I used dimensionals on the hat and added a piece of embroidery floss for the mittens.

Scraps card #2: I Love You

Day 2 of "Getting Rid of Your Pile of Scraps..."
For my inspiration today I used Cute Card Thursday Sketch # 196.  I had printed this sketch out a while ago and never got around to using it until today.  I have so many different wedding/love themed scraps and thought that today I would takle it.  So here's what I came up with.
The card base is cut from White cardstock at 4 1/2".  The grey mat is cut at 4 1/4".  I then used a Recollections line of wedding paper that I bought last October.  The black larger mat measures at 4" and is off centered slightly.  The striped mat measures as 3 3/4" x 2 1/4".  The black polka dot mat measures 3 1/2 x 2.  The love XO XO strip measures 4 1/2" x 1".  I used a piece of black ribbon that I had stored for a rainy day.  The square measures 2 1/2" and I stamped the image using Memento Tuxedo black ink.  I added some Icicle stickles to the brides dress to give it a dazzling feeling. 
The pink flower is from a set that I won in a challenge at Trim the Tree Paper Variety a few weeks ago and the purple flower set is from studio G.  I found them in our dollor bin at our local Michaels.  I added a little bling to the centers of the purple & white flower.
Simple, yet so elegant, especially with the single use of color in the flowers!


Wednesday, December 28, 2011

Scraps card #1: Happy Birthday Card

Hoping the last few days of 2011 will be good to all of you.  Amid the massive house cleaning of kids toys, clothes, and every other single nook of this house, I decided to clean my scrap area of our bedroom.  We currently live in a mini home and this little area will do until our new house is built!  I went and bought one of those 7 drawer storage units for my things and it works amazing and is solving the space problem!
I decided to go through my large amount of scraps....doesn't it accumulate fast.  I have decided that every single card I make in January will be made from scraps...I am not cutting any new paper (except cardbases)or buying anything new until I get it down some. 
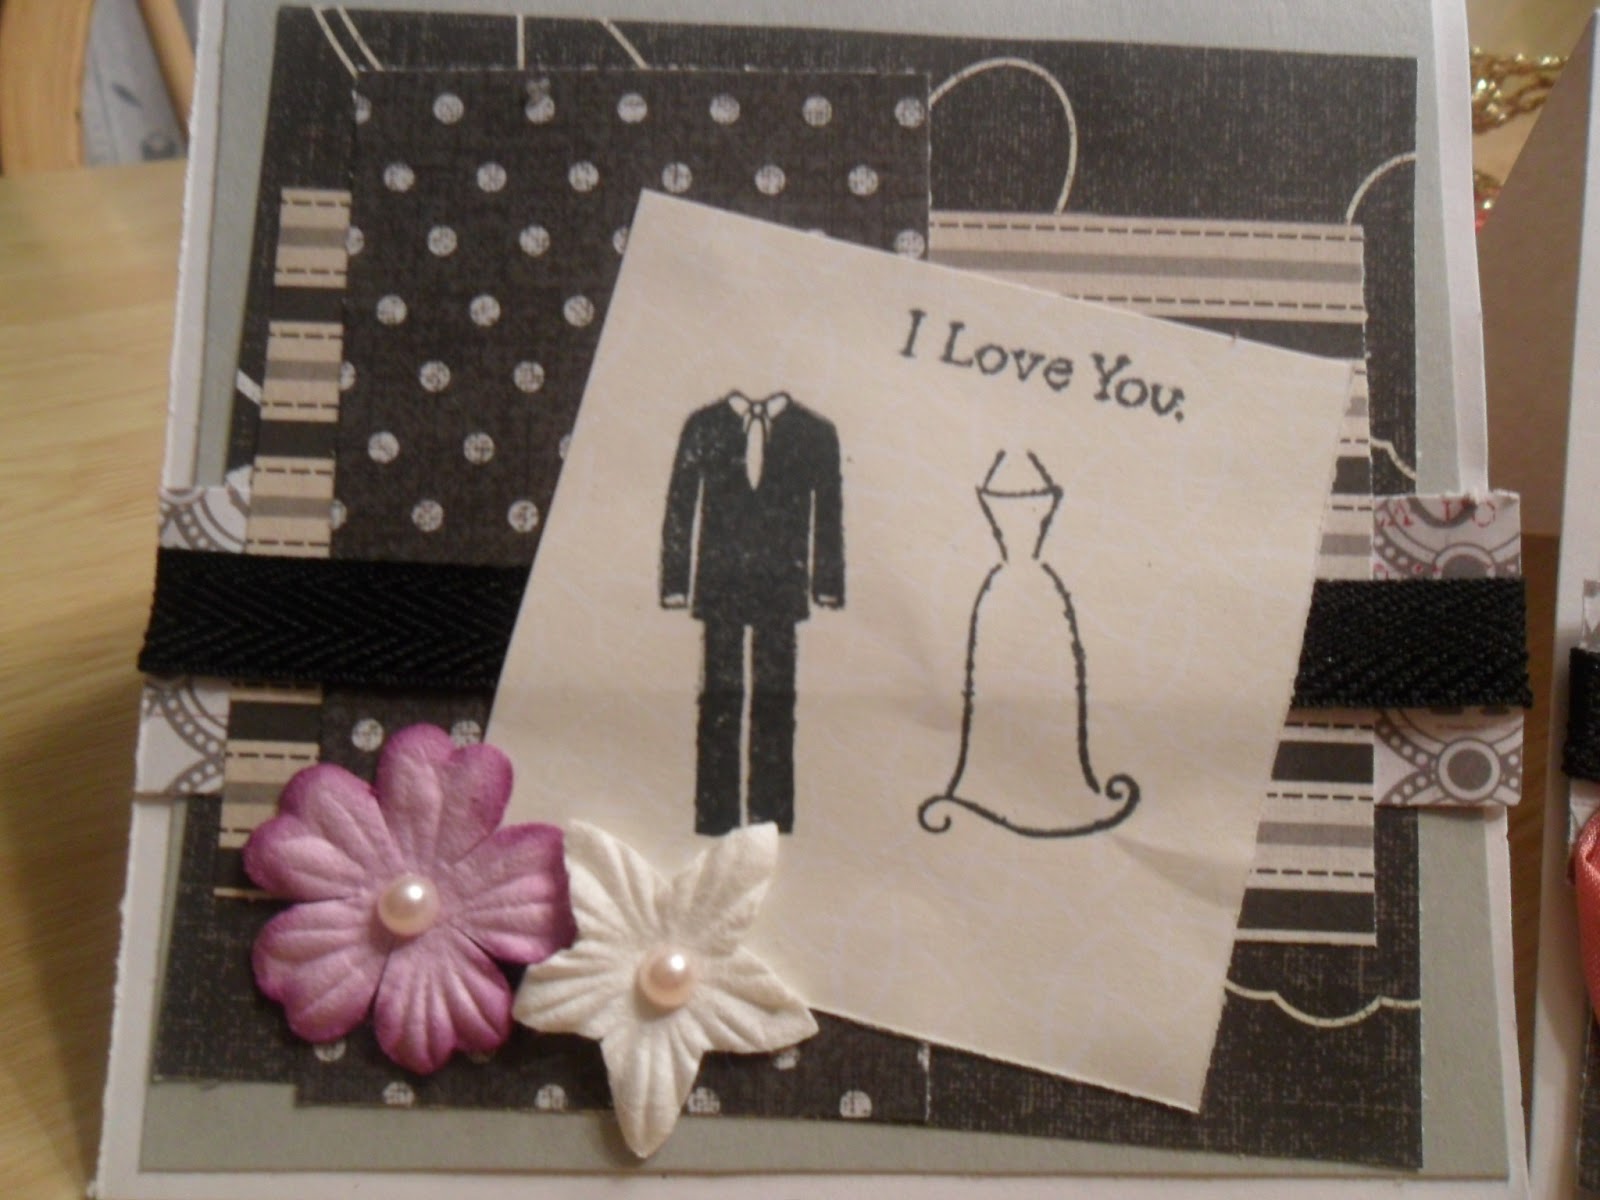
So here is the first of my "scrap" cards.
The card base is cut at 5 1/2" x 4 1/4" and is cut from the Recollections Jewel paper line.  The mat and all patterned paper are from My Minds Eye Complete Boy paperstack.  I have numerous scraps of this paperstack from my sons scrapbook and thought it was time to make some more "boy" themed things.
The mat is cut at 5 1/4" x 4" and the strip at the bottom is cut at 1" x 5 1/4". 
For the dumptruck, I used the Cricut Boys Will Be Boys cartridge.  I admit I have had this cartridge for 3 months and this is the first time I have used it.  Really neat "Boyish" designs from bugs to Nintendo remotes!  I cut the dumtruck at 3" using the main cut, it's shift for the wheels and the layer for the light and dump bed.  I added Glossy Accents to the wheels and dimensionals to the truck.
I have lost my punch so I used the George & Basic Shapes cartridge, cutting the circle out of ivory at 1 1/4" and a red circle at 1 1/2". This red was a left over piece of scrap paper that I had and is the same red from the cardbase and also on the dump bed of the truck. 
I stamped the Happy Birthday sentiment using Stampin' Up Not Quite So Navy ink.
Enjoy!

Sunday, December 25, 2011

Merry Christmas Tree Card

Merry Christmas my blogging friends.  I made this card in less than 10 minutes, and that is with cutting the shapes out.  I used the George and Basic Shapes Cartridge.  I wanted a simple card that wouldn't take too long and that I could reproduce very fast for a gift if need be.  This is what I came up with....
The card base measures 6 1/4" x 4 1/4" and is the blue from the Cream Soda Recollections card stock pack.  The mat is a white mat cut at 6" x 4". 
The tree, star and stump are all cut from the George & Basic shapes cartridge.  The star and stump are cut at 2".  I used 1 dimensional for the star.  I didn't like how small the triangle was so I used my Design Studio and lengthened the triangle.  The patterned paper for the tree is from the DCWV Tis the Season paperstack. 
I used the Occasional Quotes Stampin' Up set for the Merry Christmas sentiment.
Merry Christmas and a very Happy Scrappy 2012!!!!!!
I entered this in the following challenges:
Charisma Cards:  Anything Goes


Wednesday, December 21, 2011

Merry Christmas Stocking Card

Christmas concert is over and went off amazingly....Now to finish a few last minute holiday gifts.  I decided to make a very quick and easy gift for a teacher friend of mine.  These took me an 1 1/2hrs to put together and that's including the box.  I got the idea for the box from Momo (love her blog and projects) at Made By Momo.  an The card base measures 5 1/2" x 4 1/4" and is cut from some Recollections cardstock that matched the blue in the patterend paper.  The patterned paper is from Recollections Bright and Jolly paper stack.  I've mentioned it before on how many amazing designs there are in this stack.  Usually I like about half and not too keen on the rest but I love all the papers in this stack.  The mat is measured at 5 1/2" x 4".
The side dark green strip is cut at 1 1/2" x 4 and punched.  I included a green matching strip of paper from the same stack measuring 1/2" x 4. 
I cut the stocking from the Simply Charmed cricut cartridge at 3".  I lost my scallop punch so I used the scallop design in the Once Upon a Princess cricut cartridge cut at 2 1/2".  The circle from George & Basic Shapes cartridge is cut at 1 1/2". I added pop up dots to the stocking and sentiment.
The sentiment is from Occasional Quotes Stampin' Up set and I used the a Studio G brown ink to stamp it. 
For the box, I used a coordinating green 12 x 12 mat but cut it at 8 1/2" x 12" instead of the 8" x 12" that Momo used.  My envelopes are a little larger than an A2 size and this lets them fit perfectly. 
I used the left over strip of patterned paper and the dark green for the belly band.  Inside are 10 matching cards with envelopes. 
A very easy, quick and inexpensive gift idea!  And who doesn't like free cards....
I entered this card in the following Challenges
She's A Sassy Lady:  Christmas Project
Paper Playtime Say it With Sentiments #63: Anything Goes
Paperplay Challenge Week 50:  Christmas
More Than Favors: Christmas Extended


Sunday, December 18, 2011

Tag...You're It!!!

Well, I have been finished Christmas shopping for a while.  Around this time every year, I like to sit back, spend time with my family, finish all of my Christmas Concerts and of course, indulge in some scrapbooking, cards and tags!
This week there were endless challenges of Tag making.  So here is my lot.  I used the following Cricut cartridges to make these..
-George and Basic shapes (tag itself)
-Plantin Schoolbook (tag)
-Joys of the Season (Pointsettia, Santa Hat, Candy Cane, Peppermints, Mug, and tag)
-Create a Critter (penguin)
-Doodlecharms (Snowman)
-Various Stamps
I entered these in the following challenges:
Bitten By the Bug 2: Make a Tag
Cooking with the Cricut Challenge 64: Tags
Cardz TV Challenge #98: Tags (2) using Cricut Cartridges
Die Cutting Divas:  Tags


Merry Christmas Card

Sorry for not posting anything new in a bit, but it is Christmas concert season and my life and love of music takes over!!!
I entered this card in Mojo Monday's Sketch 219 Challenge. 
Here is my take on the card.
The card base is 5 1/2" x 4 1/4".  I used the Recollections Neutral cardstock.  The mat measures 5 1/4" x 4" and is a dark green cardstock also from Recollections.  The patterned paper is from K & Company EB Visions of Christmas paper mat stack.  The side strip measures 1 1/4" x 5", the large slanted stip measures 1 3/4" x 3" and the square measures 3" x 3". 
The circle is cut from George & Basic Shapes and is cut at 3".  The scallop circle is cut from Once Upon a Princess and is cut at 3 1/2".
The pointsettia is cut from Joys of the Season and is cut at 3" (2 of them) and 2 at 2" and 1 at 1".  I added some stickles to the inside of the pointsettia.  I also added some homemade glimmer mist to the Pointsettia to give it some shimmer and shine. 
The sentiment is from Inkadinkadoo and is the Warm Holiday Wishes set. 
Hope you love my take on the challenge! 
I entered this card in the following challenges...
Mojo Monday sketch 219
The Paper Variety: Anything Goes
PaperPlay Challenge Week 50: Christmas


Wednesday, December 7, 2011

I Heard the Bells

One of my favorite Christmas Carols is "I Heard the Bells."  I love Michael Burgess' version.  I got my inspiration for this project from the Lil' Messages Vellum Holiday Cheer Messages by American Traditional Designs.  I had saved a sketch from Create With Connie & Mary challenge#178 and didn't have time to do the project.  So here it is anyways. 
I cut the card at 6 1/2" x 5" from the Soda Pop Recollections cardstock.  The red mat is cut at 5 1/2" x 4" and is from The Paper Company Starburst Translucent red line.  All patterned papers are from Recollections Bright and Jolly paperstack.  This is an amazing stack filled with a lot of cute, child like designs.  And I love the colors.  There is something in it for everything!  The small strip on the side is cut at 6 1/4" x 1 1/2".  The green strip is cut at 6" x 2". 
I used my Cricut Sweethearts cartridge for the bell.  The bell is cut at 3" from silver cardstock from Bazzill.  I added a red bow to the top instead of using the bow cut for this bell. 
I also added 3 red blings!!!
I entered this card in the following challenges:
The Paper Variety: Inspiration by a Christmas song, title or lyric
Whimsical Wednesday:  Add glitter, bling or something shiny
Cooking with the Cricut#63: Sounds of the Season
Cardz TV Challenge #97:  A carolling we'll go
Cardz TV Design Team Challenge #2:  Crafty Christmas
More Than Favors Christmas Challenge


Hark the Herald...

Well, I am actually surprised that I pulled this card off.  I know I think that a lot about my cards and sometimes am amazed that I made it...I guess we all must feel like that in our art!
For this card, I used the design from Mojo Monday's Sketch 218
The card base is cut at 5" x 7" from Bazzill cardstock.  The color is Carob.  For the mat I used an old piece of sheet music for Hark the Herald Angels Sing.  I inked around the edges using Studio G Chalk ink.  I love the way it made it look old and worn.  The mat for the card base measures 4 3/4" x 6 3/4".  I punched a strip left over from the cardbase at 1 1/2" x 4 3/4" and used my Recollections punch on the border.  I then cut a small mat at 3 1/4" x 4 1/4".  
For the oval I used my George and Basic Shapes cricut cartridge.  I cut the oval at 4 1/2" using a lighter music of patterned paper from the Recollections Naughty or Nice paperstack. All patterned paper in this design I used the Recollections Naughty or Nice paperstack. The larger oval was cut from left over Carob cardstock at 4 3/4". 
I stamped an angel image using Inkadinkadoo's Christmas Silhouettes clear stamp set.  I love this stamp set.  I used Stampin' Up's Close to Cocoa stamp pad on her image.  Around her, I stamped some extra snowflakes to really fill up some blank space and give it that full look.  I used dimensionals on the oval to lift it off the page a bit. 
For the sentiment, I used the Stampin' Up Occasional Quotes set.  The sentiment was stamped using Stampin' Up Chocolate Chip color.  The small mat that holds the sentiment is cut at 3 x 2 3/4" and I used the same Carob brown cardstock for the back mat measuring 3 1/4" x 3".
For the inside of the card, I used my Lacey Labels Cricut Lite cartridge.  I cut the asian label at 5" (label, shift and layer) I used the brown cardstock from earlier and left over patterned paper from the Naughty of Nice stack that was used on the front of the card. 
Hope you like my take on this challenge!
I entered this card in the following challenges:
Mojo Monday Sketch 218
Jingle Belles Rock Wrapping It Up Challenge
Celebrate the Occasion Challenge #42:  Christmas (No Green)
Cardz TV Design Team Challenge #2: Crafty Christmas
More Than Favors: Christmas


Thursday, December 1, 2011

Trim the Tree

In our house, we are anxiously waiting for December 10th so we can put up our tree.  We always get a real tree the 2nd Saturday of December.  I love the smell, and the family tradition of decorating it.  My children are so excited and we have started the "how many more days..." conversation already!
For my newest card I wanted to use the element of "trimming the tree."  My card base is cut at 5" x 5" using a Christmas Green card stock from Recollections.
My patterned paper mat is cut at 4 3/4" and is from a DCWV stack I've had for years.  I have so much Christmas paper and need to use some of it up!  I added a strip of coordinating paper from the same stack which measured 1 3/4" by 4 3/4".    I added a 1" x 4 3/4" strip of the same green I used on the card base and used a punch to give the edges a decorative look.
The larger small mat was cut from white cardstock at 2 1/2" x 3" and I had a scrap of Bazzil cardstock that matched the lighter green from the patterned paper.  I cut that at 2 1/4" x 2 3/4".
For the ornament, I used my new Winter Frolic cartridge.  The ornament is found on p. 64 and was cut at 2 3/4" on one card and 3" on the other card.  I used the Ornament 1., Ornament Shift, and both layers (shift and non-shift).  I added some stickles to the ornaments layers to give it that sparkle look.
For the sentiment, I used the Lil' Messsages "Holiday Cheer Messages" from American Traditional Designs.  These are sticker vellum messages and it is a set of 12 with many cute Christmas and Holiday messages!
Enjoy "Trimming Your Trees"
I entered this card in the following challenges:
Mojo Monday's Sketch 217
The Paper Variety: Include an Ornament
Trimmies Craft Challenge: Christmas Present


Tuesday, November 29, 2011

Do You Hear What I Hear?

Christmas to me means many things.  I love the smells, the baking, and especially the excitement on my kids faces as we get ready to ring in the holiday season.  As a child, my favourite part of getting ready for Christmas was helping my grandmother put up her manger seen.  She had so many sheep and I literally would spend hours putting them on the fake snow walking towards the stable to see the baby Jesus.  Now that I have my own children, this tradition remains today and my son is the same as I was, and loves to put the sheep in.  He has claimed this as "his job!"
So it was a highlight to make a Christmas card featuring the little shepherd and his sheep asking "Do You Hear What I Hear?"
The cut is from Winter Frolic cricut cartridge.  I used the shepheard and sheep from p. 75 and cut him and all his layers at 3".  I added some flock to our fleecy friend and added some stickles to the star to really make it shine.
The sketch if from Mojo Monday's Sketch #139 (May 17, 2010). This is a great website with many sketch designs.
The card base is 6 1/2" x 5" and is The Paper Company Burgendy Corduroy.  All patterned paper are from K & Company Elizabeth Brownd Visions of Christmas matt stack. 
Mat #1 is cut at 6 1/4" x 4 3/4".  Mat #2 (Ecru) is cut at 5 3/4" x 3 1/2" and is from Recollections Neutrals pack.
The smaller mats are cut at 3 3/4" x 3 1/2" and I used a scrap piece of paper left over from cutting the card base.  The smallest matt is cut at 3 1/2 x 3 1/4 (blue snowflake design)
The Do You Hear sentiment was added by hand and I used the Tim Holtz Ornamental Die Cut to cut out the shape. 
I chalked around all edges of the card to give it a rustic older look.  I added some Jute and a strip of burgendy ribbon to the card plus a button that I had stashed away that actually matched the green perfectly in my Mat 1.
Hope you like it.

I entered this card in the following challenges:
Cardz TV Challenge #96:  Say it was "S" Christmas
Trimmies Craft Challenge:  Unusual Christmas Card
The Two Sisters:  Holiday Theme
Fantabulous Cricut: Create a Holiday Card